This walkthrough shows how to submit an OpenSees-MP parallel analysis through the DesignSafe web portal. The same general process applies to any application available in the portal (OpenFOAM, ADCIRC, MATLAB, etc.).
For submitting jobs programmatically from a Jupyter notebook, see Running HPC Jobs.
Step 1: Find the application
Go to Use DesignSafe > Tools & Applications and find the application under the appropriate category. OpenSees is under Simulation.

Click on OpenSees to expand the list of OpenSees variants, then select OpenSeesMP for parallel analysis.
Step 2: Select the input directory
The first form page asks for the Input Directory, the folder on DesignSafe that contains the OpenSees script and all supporting files (ground motions, material definitions, mesh files, etc.).
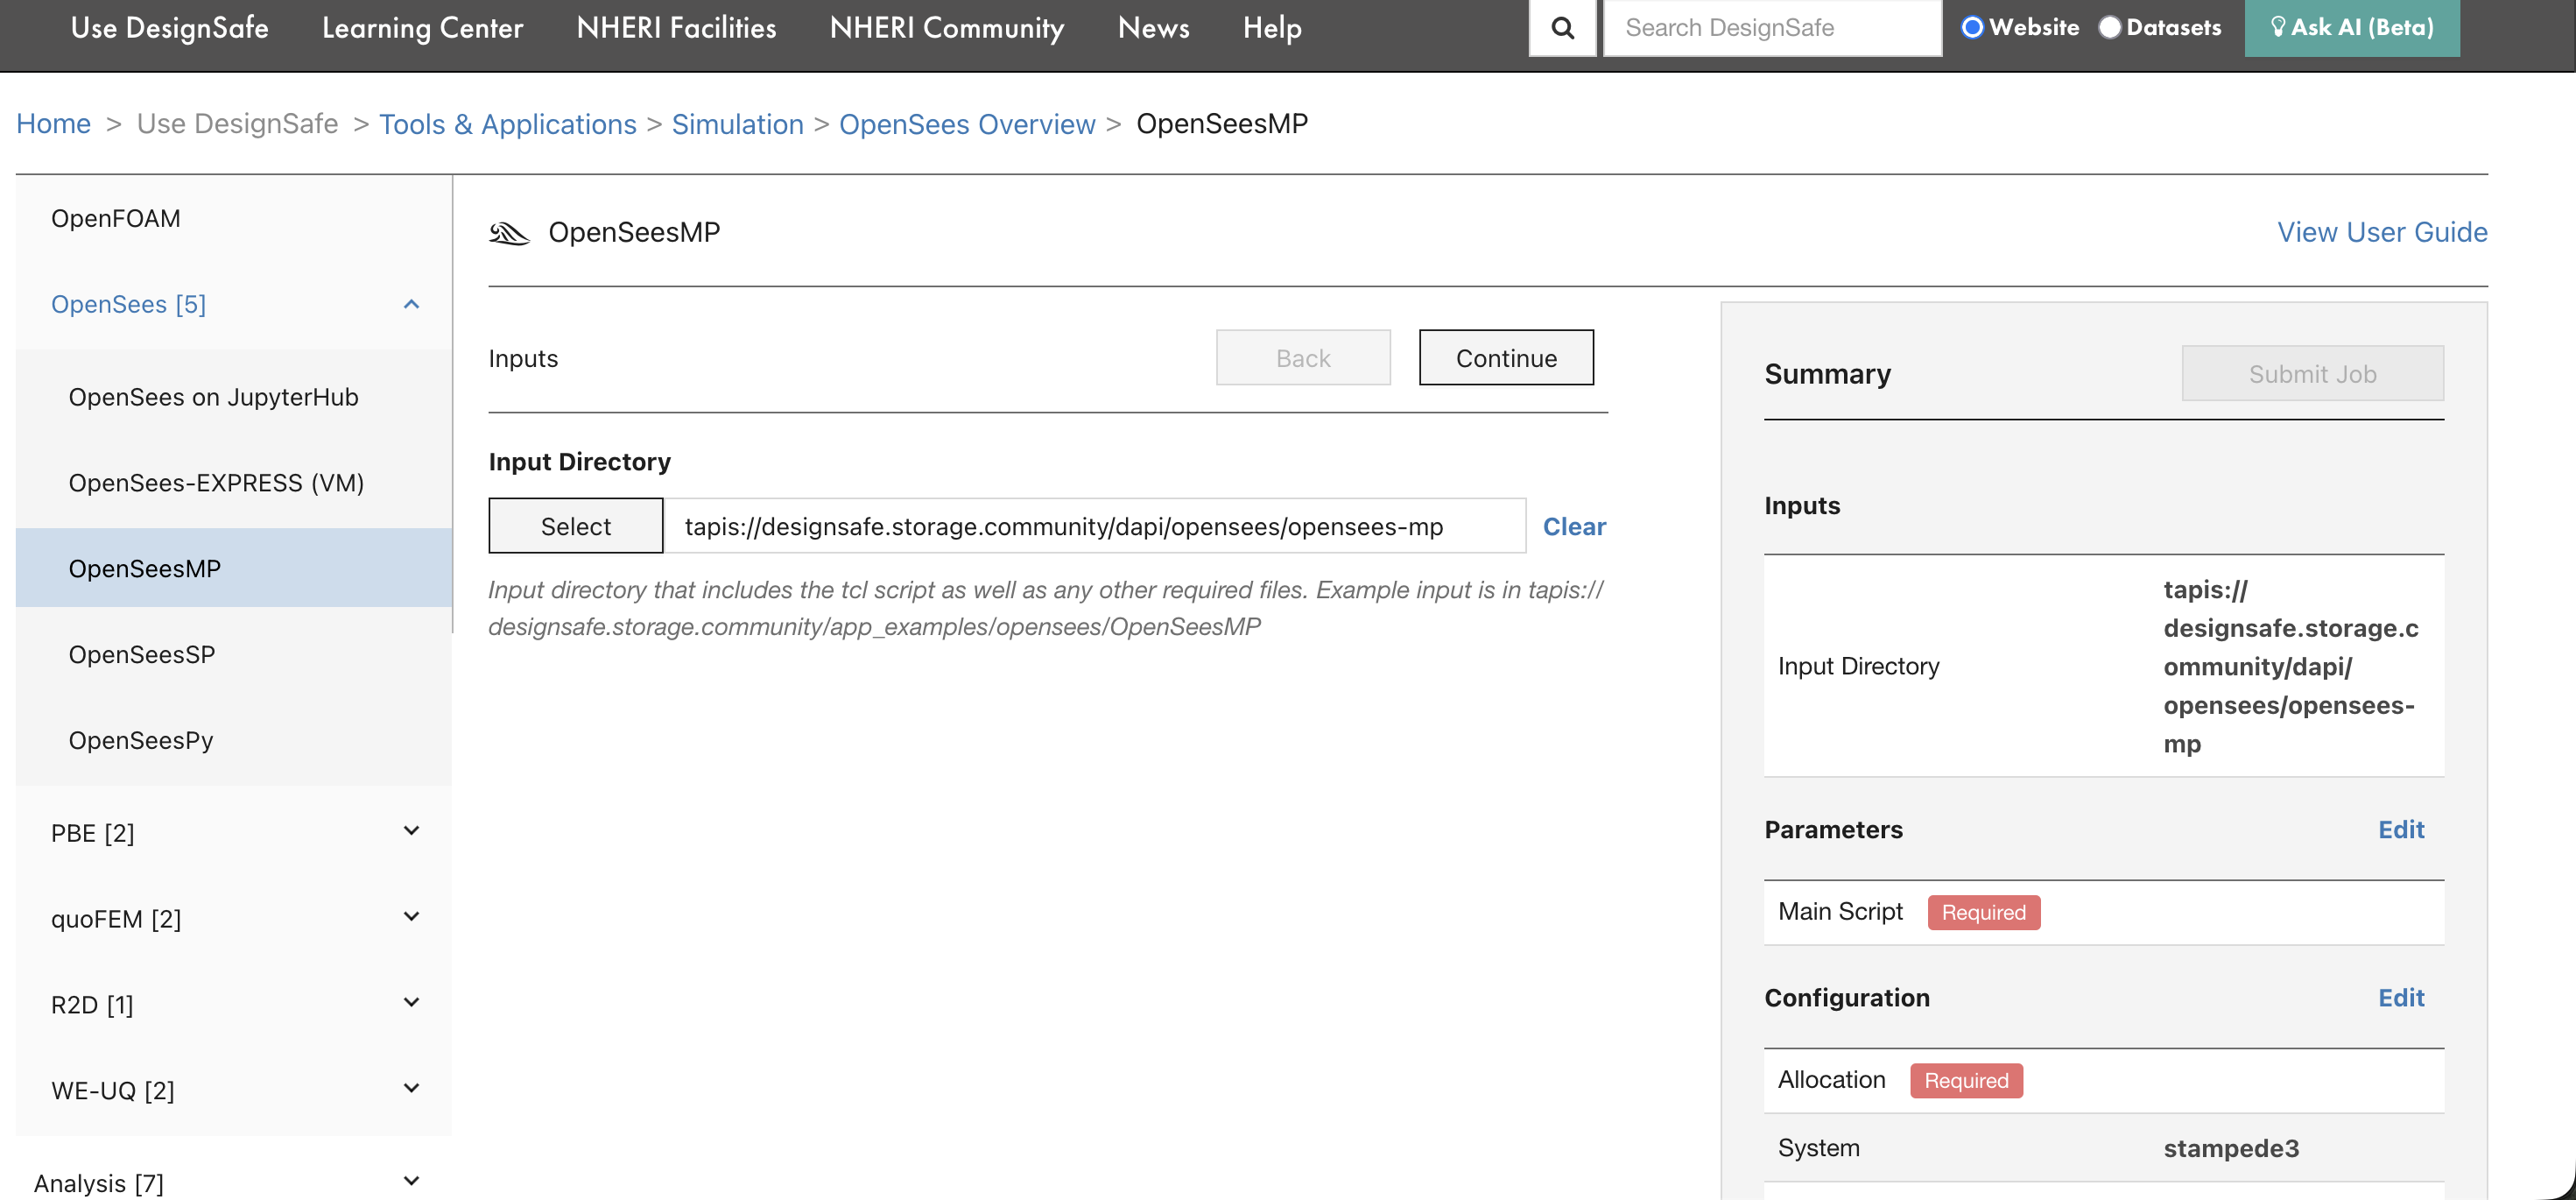
Click Select to browse Data Depot and choose the folder. The path will be converted to a Tapis URI automatically. The input directory must contain everything the simulation needs, because Tapis copies this entire folder to the compute system before execution.
Step 3: Set the main script
On the next page, select the Main Script that OpenSees should execute. This is the .tcl file that drives the analysis.
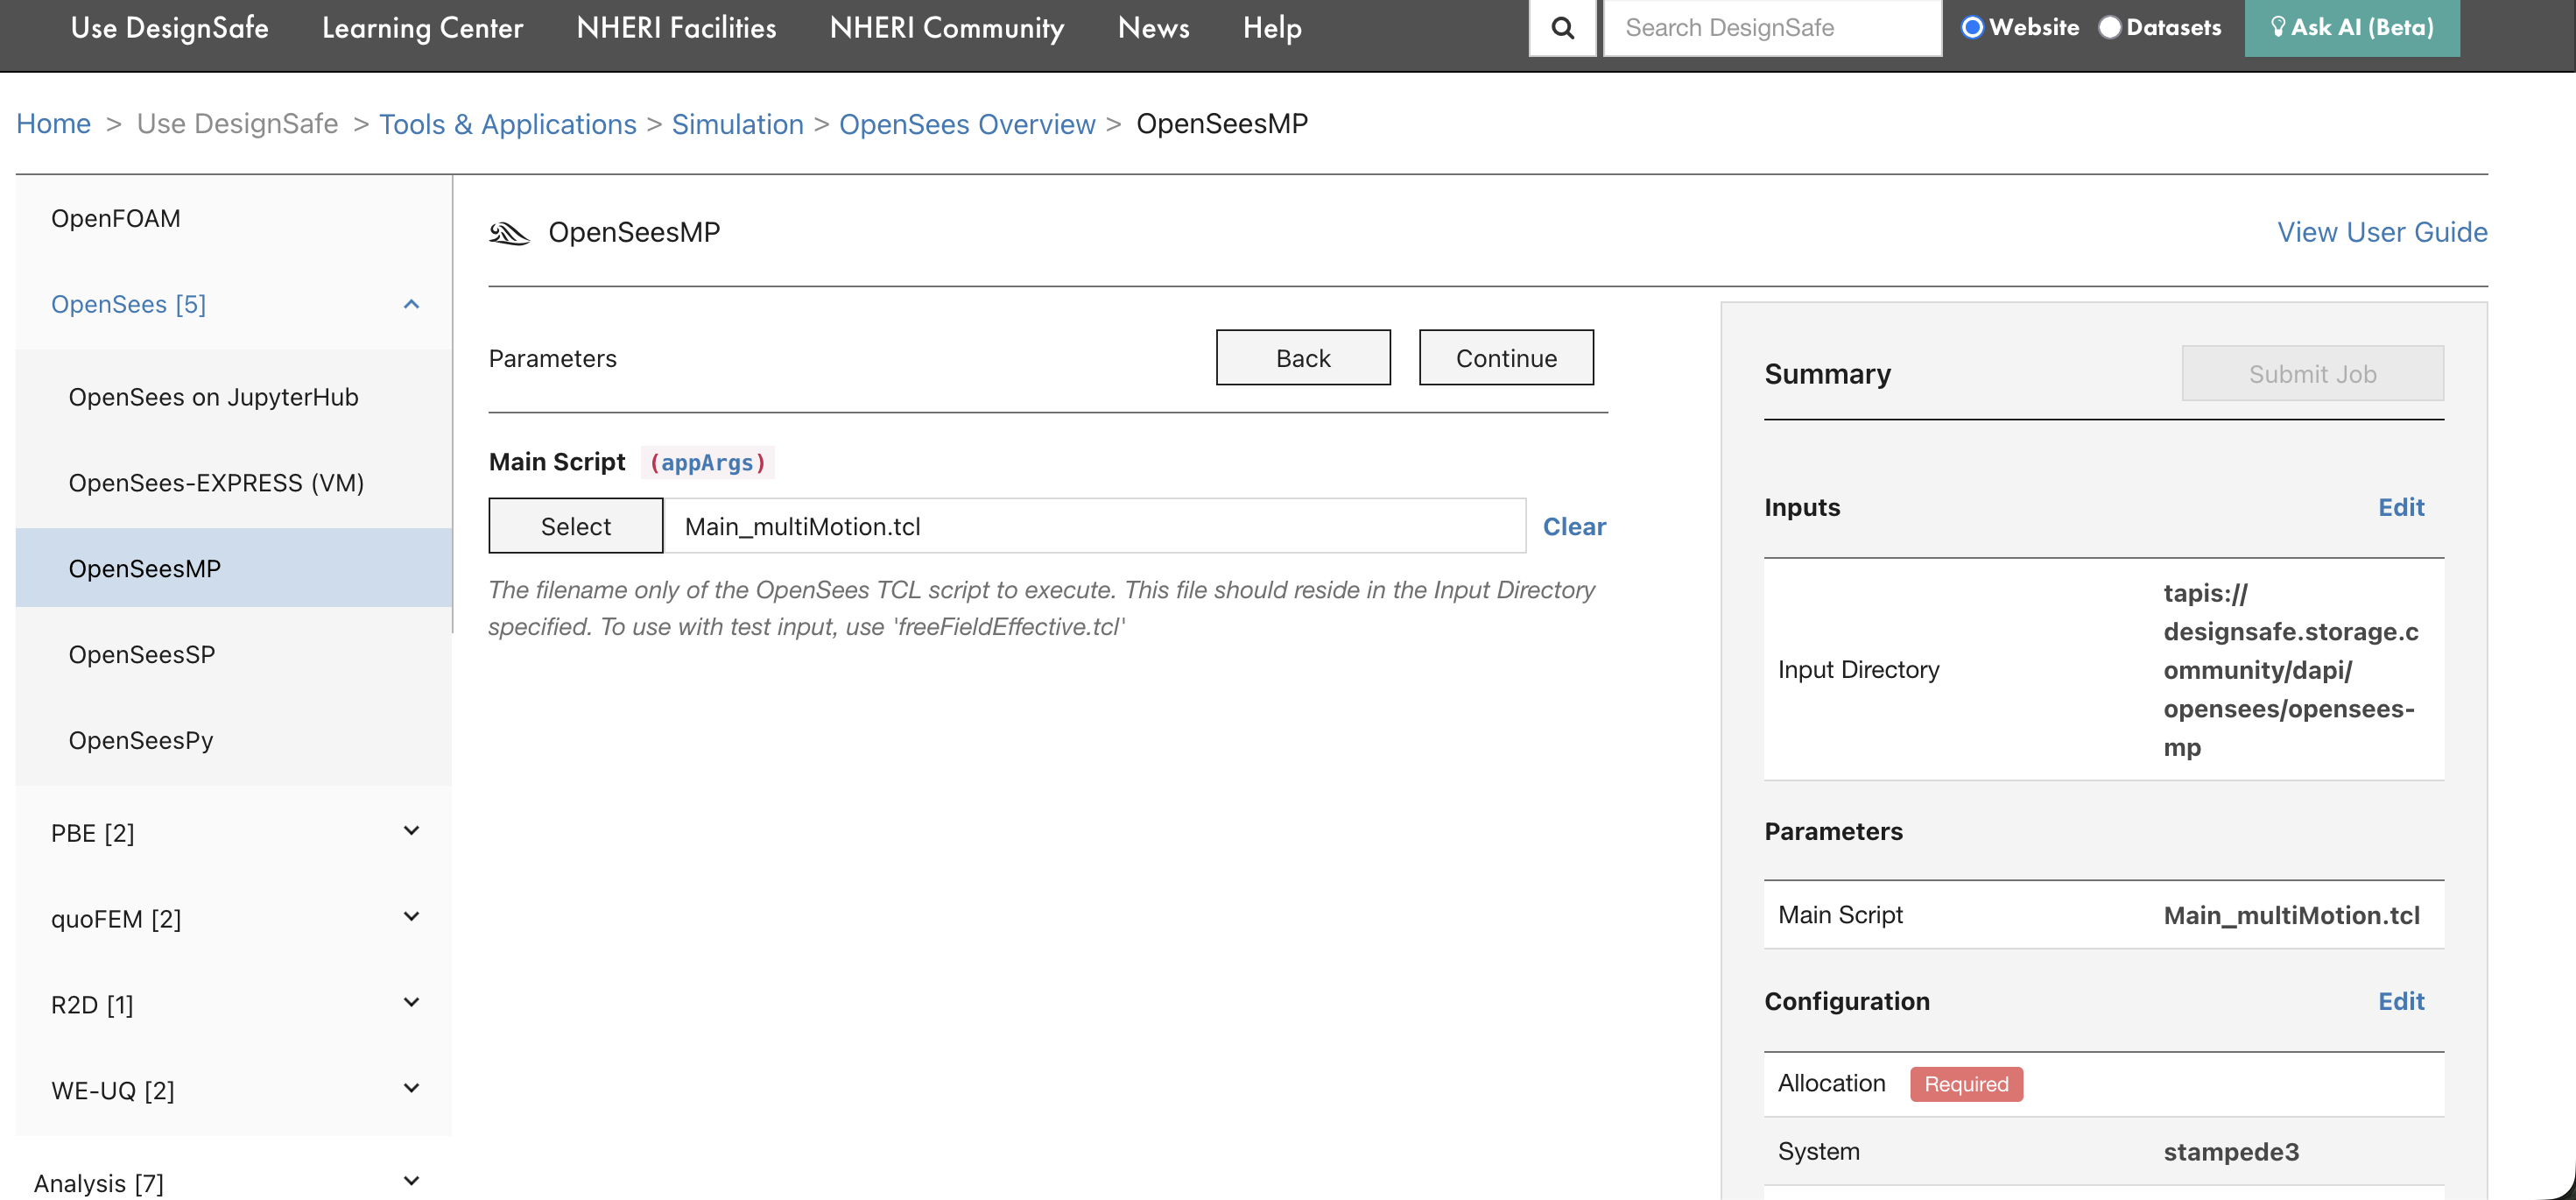
The script must be inside the input directory selected in the previous step. For OpenSees-MP, the script should be written for parallel execution (using domain decomposition).
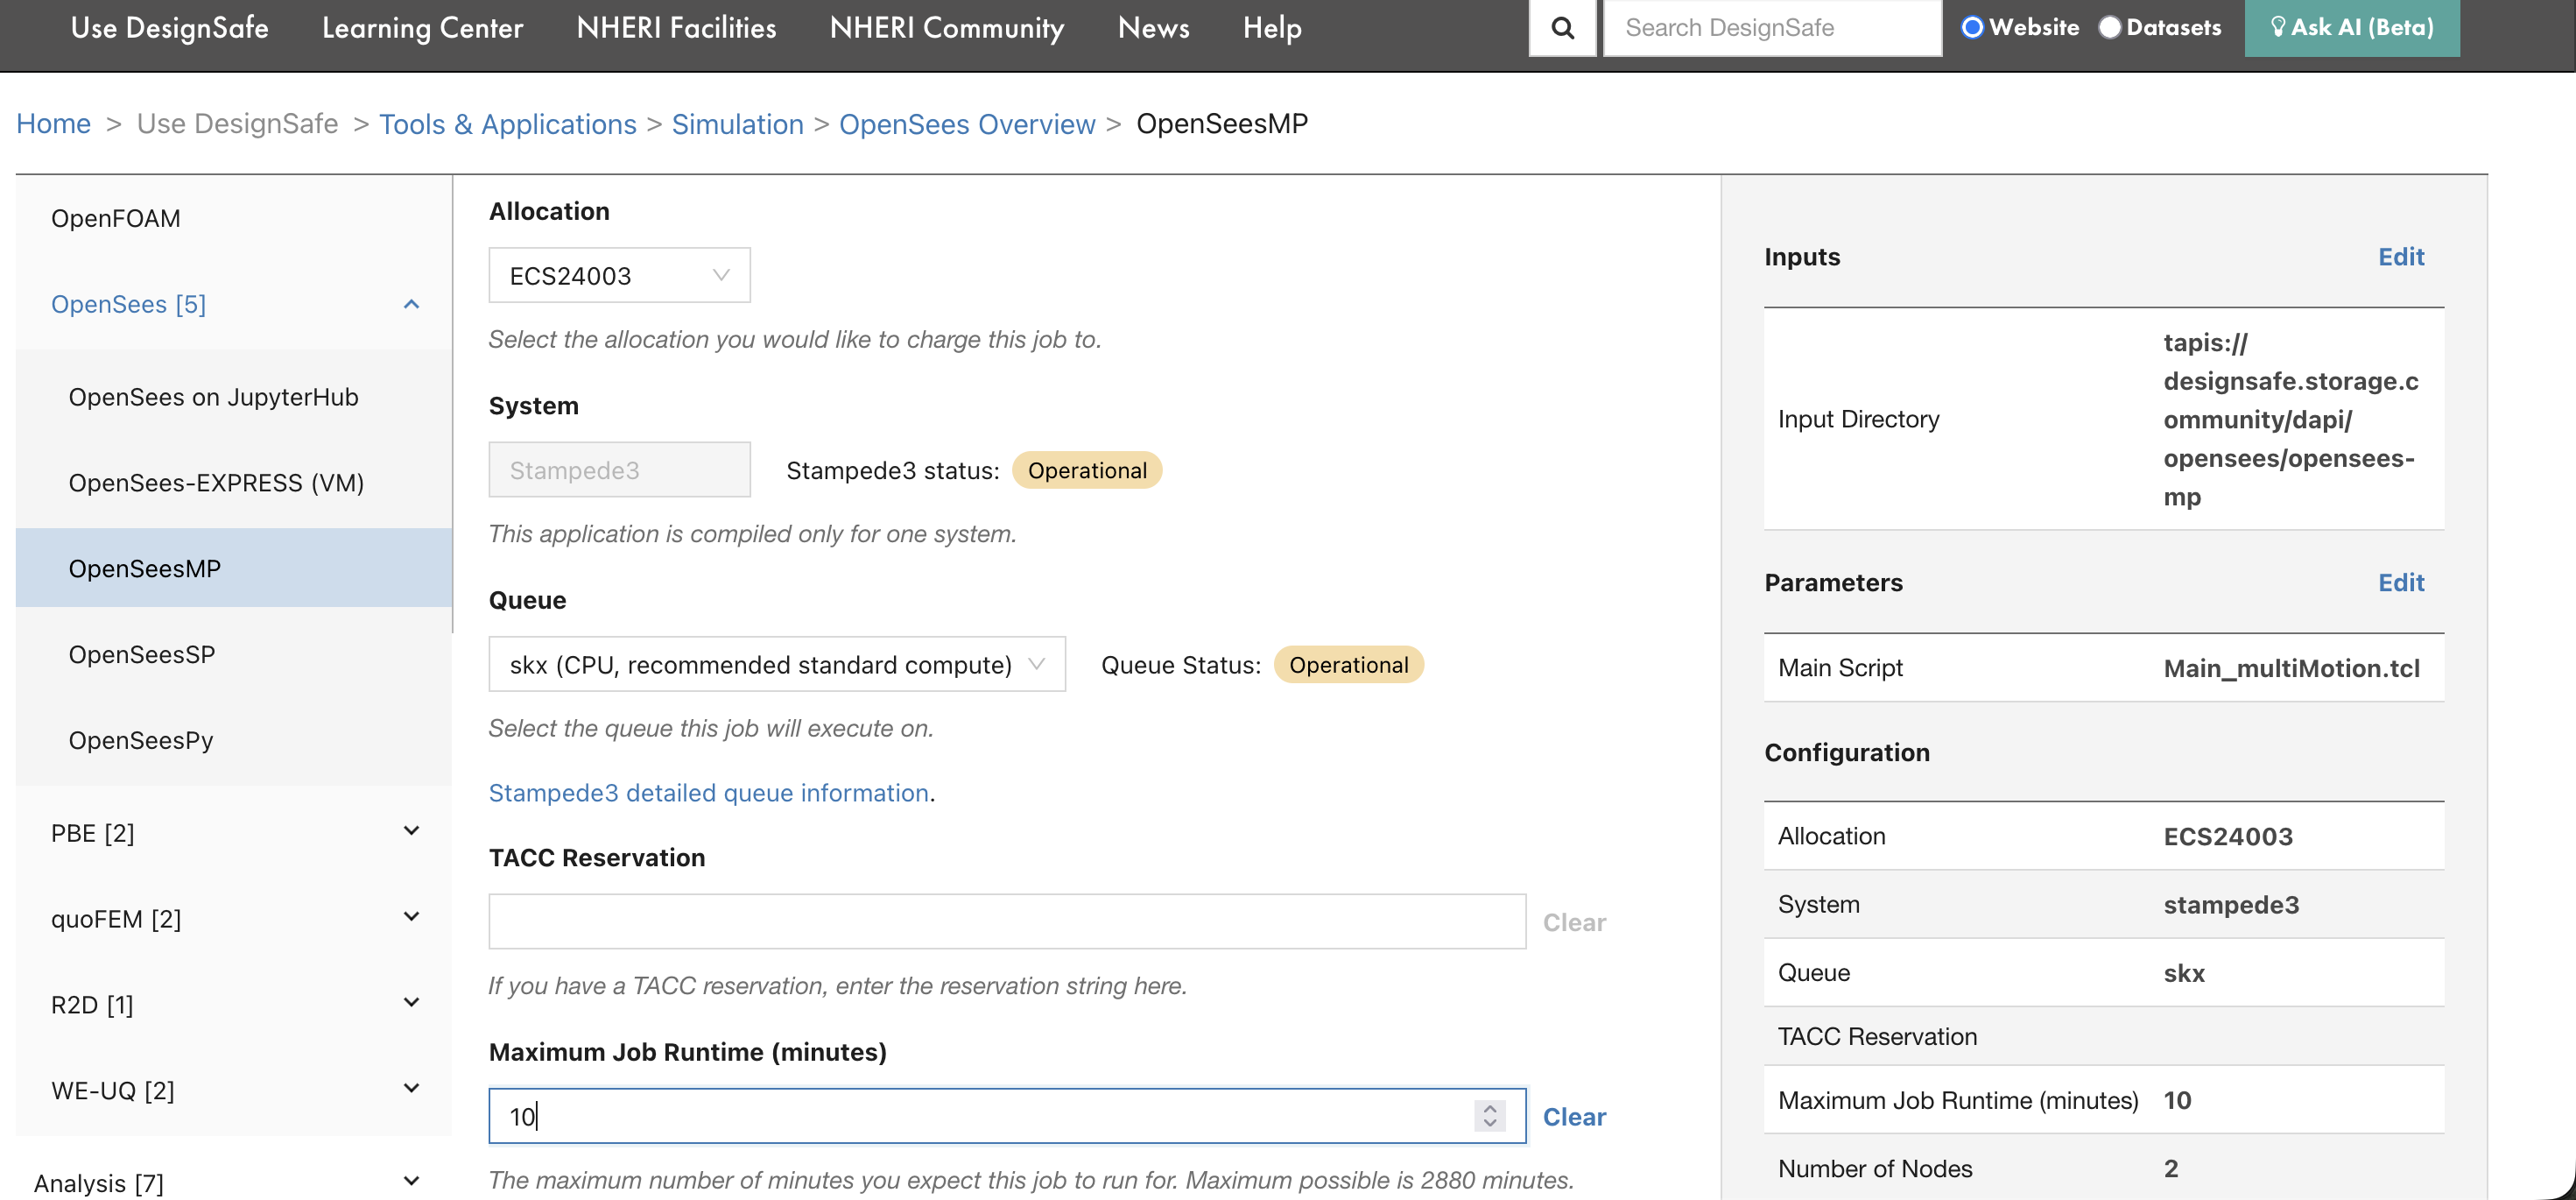
Step 4: Configure resources
Set the allocation, system, queue, runtime, and node count.
| Field | What to enter |
|---|---|
| Allocation | Your TACC allocation code (e.g., ECS24003). Find yours on the TACC Dashboard. |
| System | The HPC system to run on (e.g., stampede3). |
| Queue | The queue/partition (e.g., skx). Use skx-dev for quick tests. See Compute Environments for queue limits. |
| Maximum Job Runtime | Time limit in minutes. SLURM kills jobs that exceed this. Start with 10 minutes for testing. |
| Number of Nodes | Physical machines to allocate. For most OpenSees jobs, 1 node is enough. |
| Cores per Node | CPU cores per node. For OpenSees-MP, this determines the number of MPI ranks. |
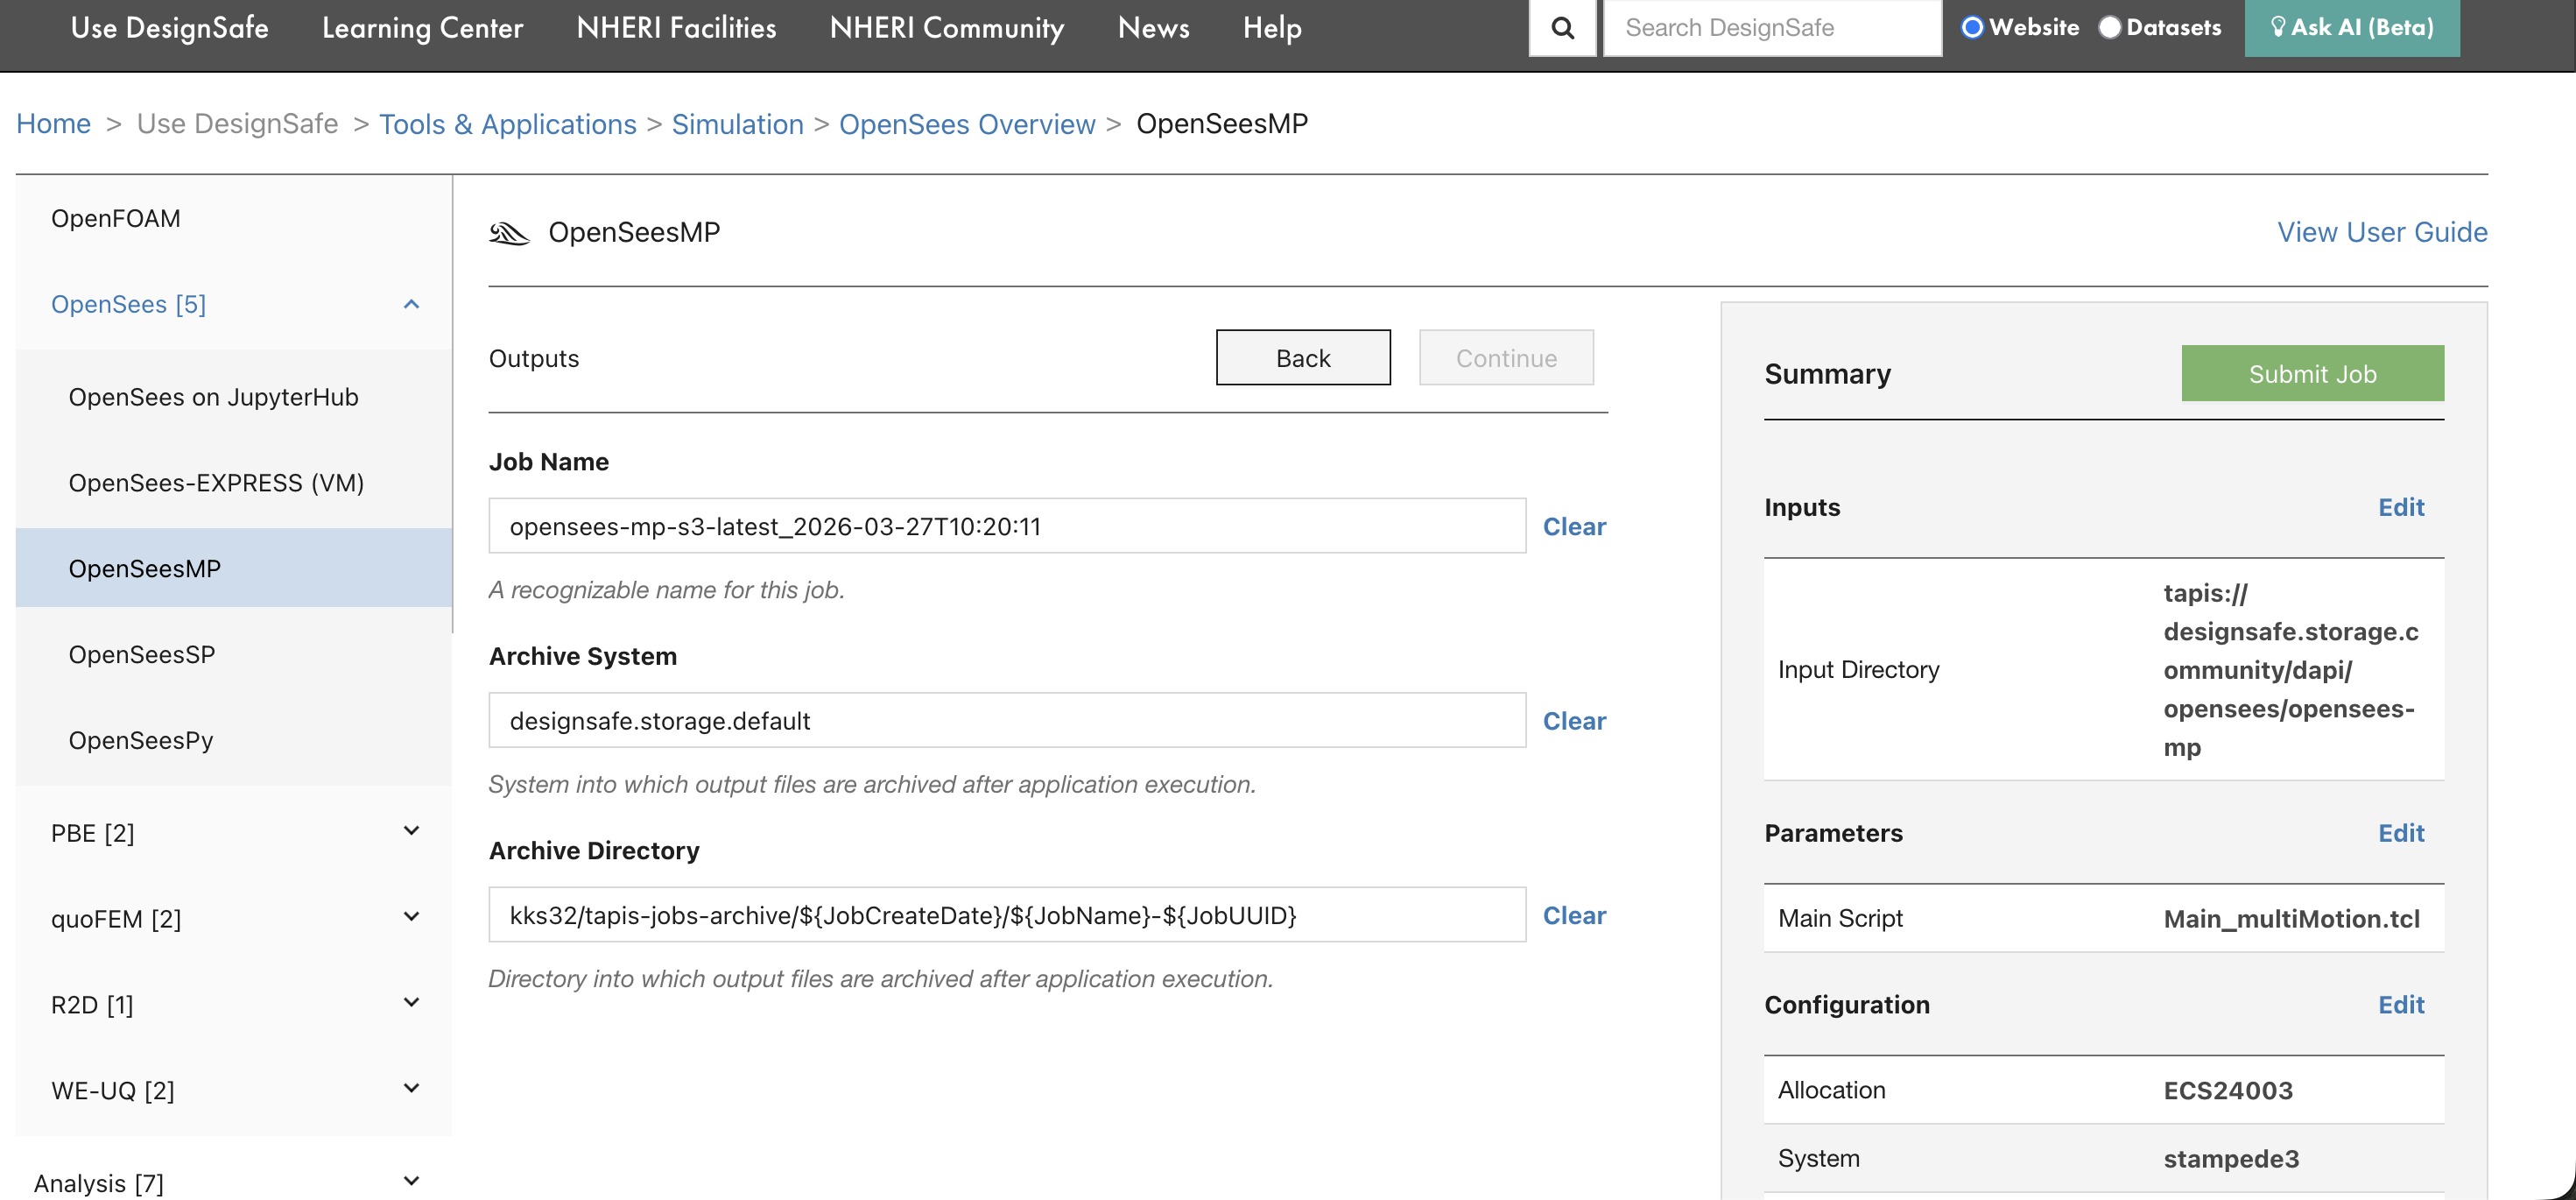
Step 5: Review and submit
The final page shows the job name, archive system, and archive directory. The summary panel on the right displays all settings. Review them, then click Submit Job.
After clicking submit, a confirmation banner appears with a link to the Job Status page.
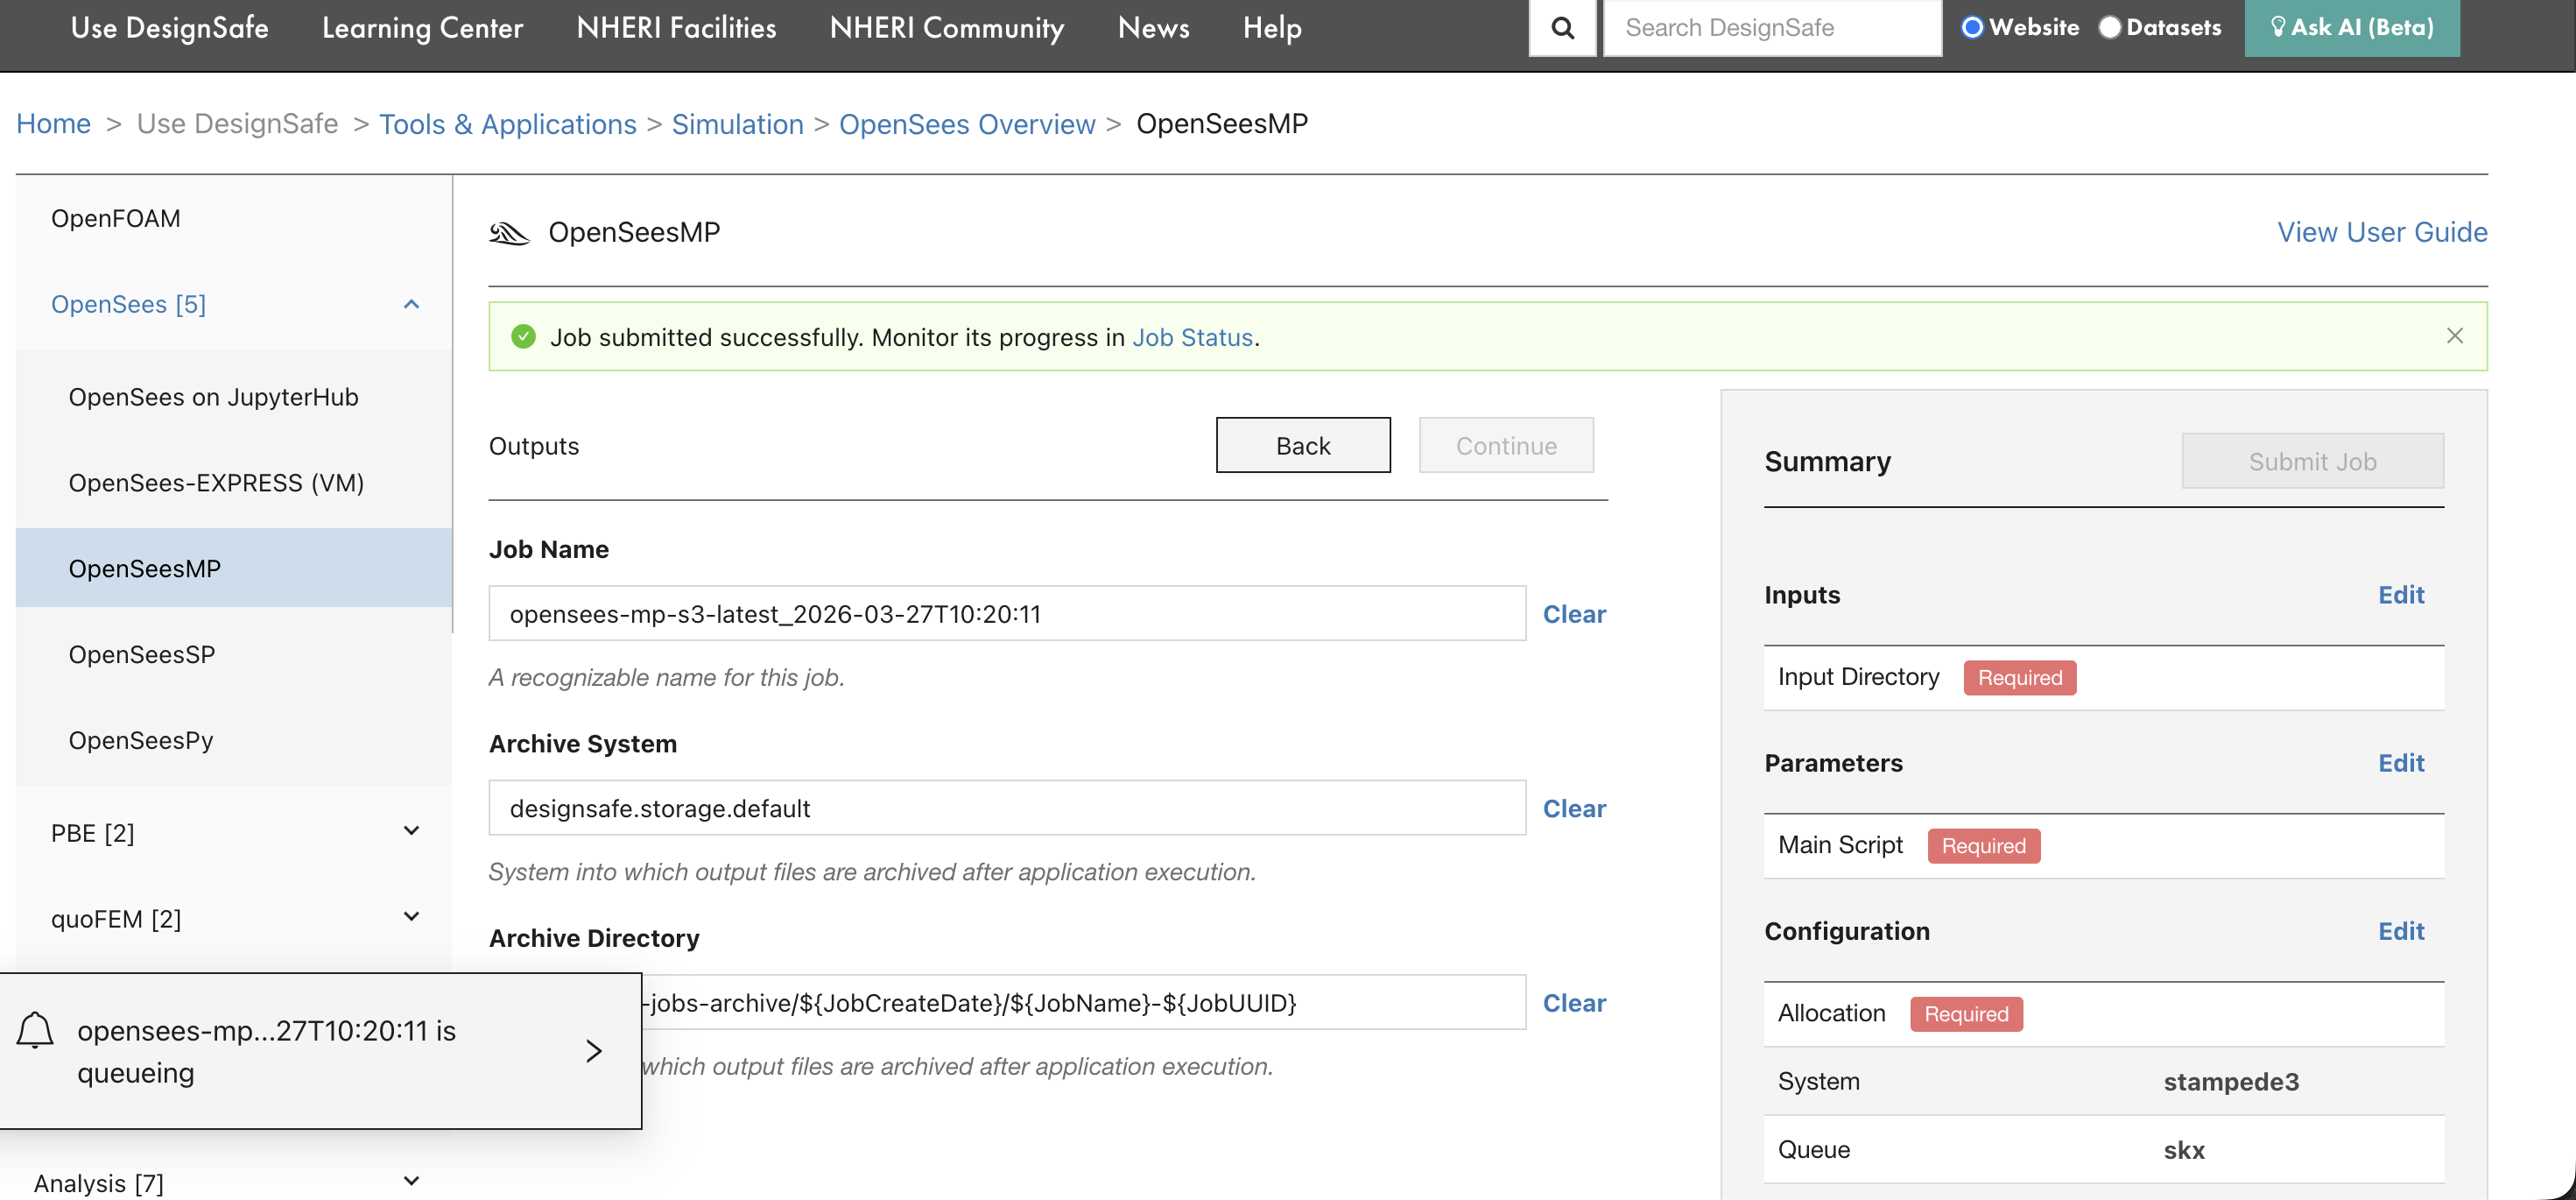
The bottom-left corner also shows the job entering the queue.
Step 6: Monitor the job
Go to Job Status (linked from the confirmation banner, or from the left sidebar under Tools & Applications). The page shows all submitted jobs with their current status, node count, core count, and runtime.

| Status | Meaning |
|---|---|
| Queueing / Pending | Waiting for SLURM to allocate nodes |
| Running | Executing on compute nodes |
| Finished | Completed successfully |
| Failed | Something went wrong (click View Output to see error logs) |
Click View Output to browse the archived output files, including tapisjob.out (program output) and tapisjob.err (error messages). Click Reuse Inputs to submit a new job with the same input directory and settings.
What happens next
After the job finishes, results are archived to the location shown in the Archive Directory field (typically under jobs-archive in MyData). Access them from:
Data Depot in the portal (browse to the archive directory)
JupyterHub (navigate to
~/MyData/jobs-archive/...)dapi (
job.list_outputs()andjob.get_output_content())
For troubleshooting failed jobs, see Debugging Failed Jobs.